
Before the lesson
When you register for one of my online lessons, it’s prudent to have a read of the notes on this page, and make sure you’re all ready to go beforehand, so that we don’t waste valuable tangle time on tech time.
Rather than just presenting my lesson to a group of silent watchers, I do prefer to engage with my learners, so if you’re comfortable sharing your own webcam as well as audio, I’d encourage you to do so.
To get the most out of my lessons, you’ll want the following:
- A reasonable internet connection
- A laptop or similar device with audio (speakers and a microphone)
- A webcam will allow you to participate more fully in the group environment, and enable me to give you feedback as the lesson progresses
A smartphone will work but a larger device is preferable, to give you a better view.
From previous experience of this medium, I do try to let everyone participate with sound, but if you are in an environment where the background noise is quite loud, I may have to politely mute you during the lesson at times. You will still be able to hear it all, and you can choose to unmute yourself should you need to.
I use either Google Meet or Zoom for presenting my online lessons. Please follow the appropriate advice below depending on which tool is being used for your lesson.
Google Meet

Google Meet does not require downloading any separate software to your computer, although there are separate apps for smartphones.

After you’ve clicked the link I will have provided you with to join the meeting, you can check your audio and video settings.
Once you’ve joined, one tip to get the best out of my teaching is to set your screen layout to either Spotlight or Sidebar, by clicking on the︙and choosing Change Layout.
If you find yourself muted at any stage during the lesson, you can click the Mute button to unmute and mute yourself:
There is plenty more information on the Google support pages.
Zoom
Setting up Zoom
Download the Zoom software to your device.
If you haven’t used Zoom before, this is a most helpful video and some further instructions that can help.
During the lesson
Zoom operates in one of two modes, Gallery View or Speaker View.
When you join the lesson, you will initially be in Speaker View, where your screen will be mainly filled with my teaching webcam feed, along with a row of other participants along the top.
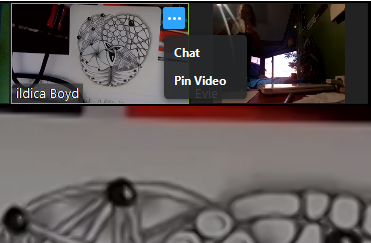
To get the best out of my teaching during the lesson, the first thing you want to do on joining a lesson is to “pin” my teaching webcam view. Otherwise when other learners talk during the lesson, your view will switch to display the person who’s talking instead of “sticking” to my teaching display.
- Hover over “my” webcam view in the row at the top
- Click the three dots … that should appear in a blue square
- From the menu that appears, choose Pin Video.
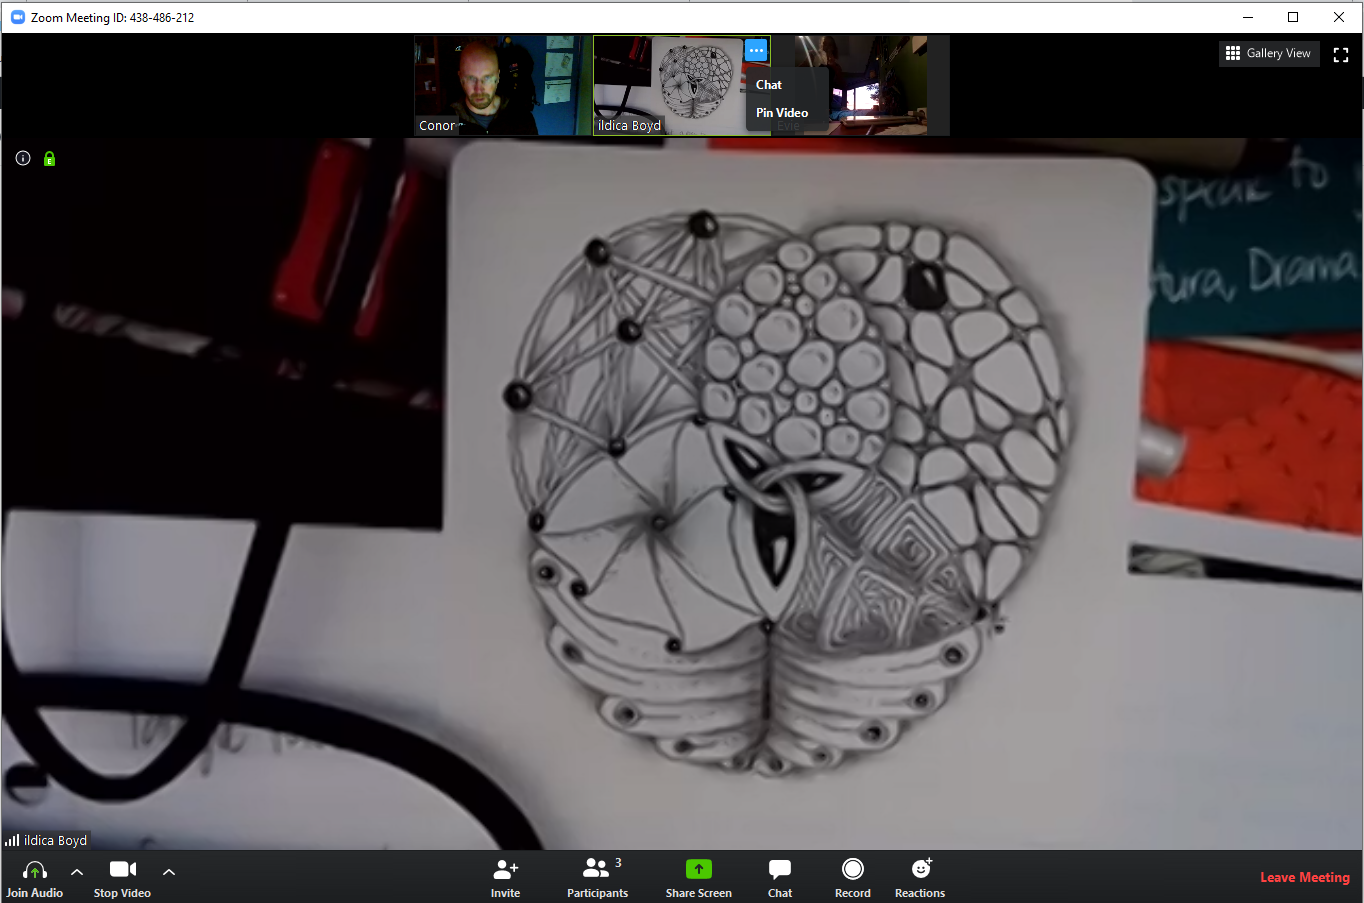
After you’ve done this, you may want to initially switch to Gallery View and say hello to the other learners. When you switch back to Speaker View when I start teaching, you should find that my teaching display is still correctly pinned.
Audio
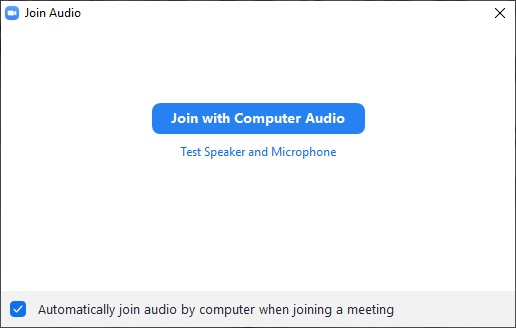
If you have issues with hearing the lesson or being heard, have a quick check at the bottom left of the Zoom window.
If it says Join Audio, please click on that button to connect your computer audio equipment to the lesson.
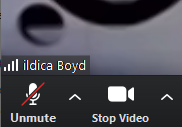
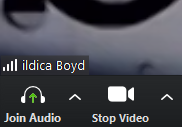
If you find yourself muted at any stage during the lesson, you can simply check at the bottom left of the Zoom window, and click the Unmute button.