This information came from the Sakura of America website, but the information is great, so I have replicated it here, hopefully the more you know the more it helps look after your pens. (Note though – I have had success with putting Gelly rolls in hot water for a short while to get them going again – so it maybe depends on the cause of the fault. I have had success with unclogging a micron with use of dipping it in rubbing alcohol – you can buy a wee bottle at your local chemist.)
Gelly Roll Pen Care
Gel inks need to be kept sealed away from air so it is very important to put the correct cap on the pen between uses because unlike regular ballpoint pen ink, prolonged exposure to air will cause the gel ink to dry-out in the tip/ball chamber. (removing the barrel end plug will have the same effect). Also it is very important to clean the ball after each use, especially if you are working with mixed media surfaces – think small bits of paint, other inks, paper pieces which can get on to the ball, so after you have finished with it, try to make a point of doing a few lines and circles to hopefully clear your ball nib. (Drawing on the back of your non drawing hand is a common occurrence!
In the Sakura Gelly Roll ink system there is a tiny silicone ball inside the cap that touches the tip and helps prevents any air from drying out the gel in the ball chamber when the cap is on. If this silicone ball is damaged or removed, the pen will eventually dry out and not work.
Gelly Roll can be stored horizontally or vertically because of the properties of gel ink. If you choose to store them vertically, just be sure that you don’t drop them into the pen cup as this can cause air bubbles to form in the gel, which will disrupt the ink flow.
The best way to see if a Gelly Roll pen can be revived is to scribble in circles and/or firmly tap the tip of the pen on a pad of paper. The motion makes the tip (ball) roll and causes the gel ink to be pulled into the ball tip chamber. It might take a few tries, but may help to revive the pen. There is no guarantee though that this will start the pen again. Heating a Gelly Roll tip or shaking the pen will not correct the problem of a clogged nib. This technique only works for oil-based ballpoint pens.
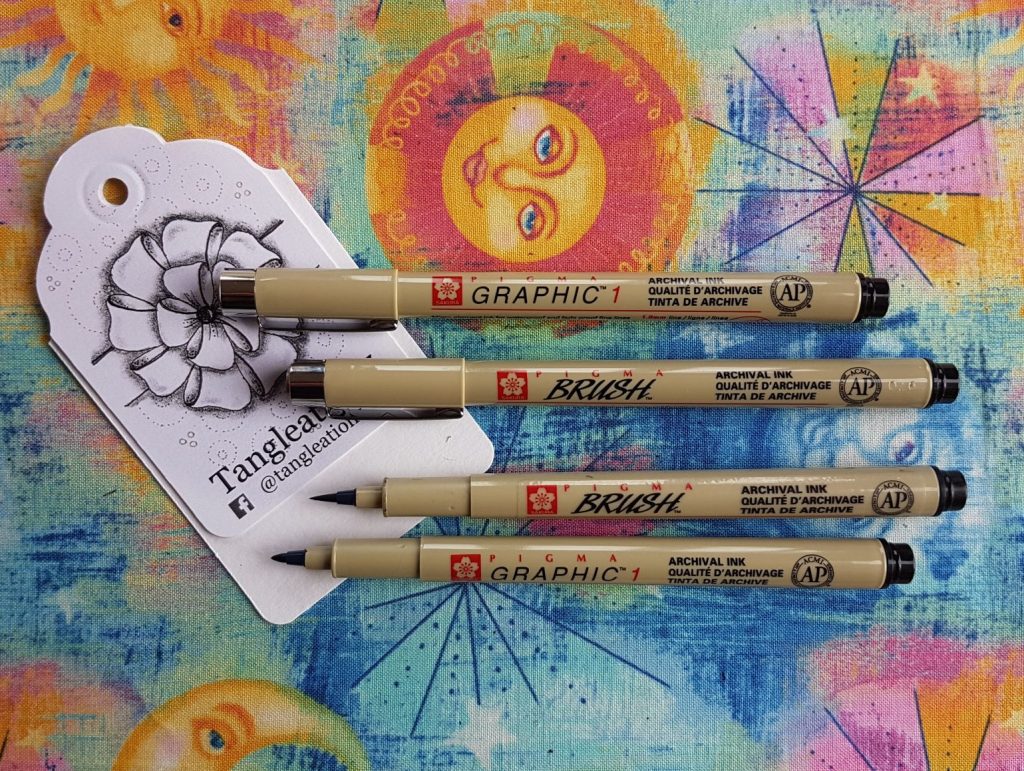
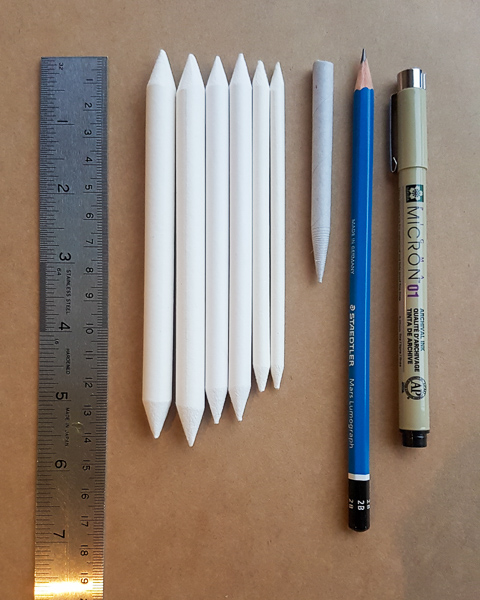
Micron Pen Care
Micron’s best use is on paper, so be aware that alternative surfaces may contribute to a bent or clogged nib.
Why is my Micron nib getting clogged?
A Micron nib may clog from use with partially dried paint or primer, wood dust, fabric dust, starches and protections on fabric surfaces and very fibrous paper. Micron nibs are small plastic tubes which allow our pigment ink formula to easily flow from the barrel to the paper. When any foreign matter clogs these tubes, the Pigma ink flow is blocked.
Why is my Micron nib so delicate?
Microns are designed to be used at a 90° degree angle. The smaller point sizes (003, 005 and 01) use very delicate nibs to create the extra fine line, so they need to be used with a very light touch, no more than the weight of the pen itself. Microns require very little pressure to provide a flow of ink. If you experience a bent nib, switching to a thicker nib size, and/or using lighter hand pressure when writing, should resolve the issue. Our Gelly Roll or Pigma Micron PN pens provide an alternative for a more durable point and are ideally suited for everyday writing use.
Why is my Micron leaking?
A leak near the nib holder or ink wick could be caused by dropping, inadvertently shaking, or accidently applying centrifugal force to the pen by spinning it in your hand. Be sure to handle your Microns with care to prevent leaks from happening.
Why did my Micron pen run out?
Although Sakura strives to make a durable Pigma product, it is considered a “disposable pen”. Our standard product performance is based on a 24 month shelf life. Most of our Pigma products can last longer than the 24 months (with the exception of running out of ink or damage to the nib) under ideal use conditions.